Recent Posts
- Join a Windows 10 PC or Device to a Domain
- Migrate Windows OS to New Hard Drive Without Losing Data
- How to Install Invoice shelf a Free billing software
- Install Tight VNC via Active directory
- How to Install Deepseek AI Models Locally on Your Desktop | Run Deepseek R1 Model with LM Studio
- HandBrake Software: Best Free Tool to Convert Any Video Format
- Mastering Password Management with Bitwarden
- Master PDF Manipulation: Stirling PDF Docker Guide!
- A Windows-Themed Linux OS! Wubuntu
- How to Install Chrome OS Flex on Any PC or Laptop – Step-by-Step Guide
- Free Windows & Office Activation Using MAS Tool
- How to Enable Multiple Remote Desktop Sessions on Windows 11 Using RDP Wrapper!
- Install and Configure File Browser on TrueNAS Scale
- Download antiX Linux for Old PCs – Lightweight Linux ISO Guide
- How to Set Up SFTP Server on TrueNAS SCALE Using SFTPGo (Step-by-Step Guide)
- How to Set Up a Password Manager in Nextcloud
- How to Install and Configure Snipe-IT for IT Asset Management using Docker


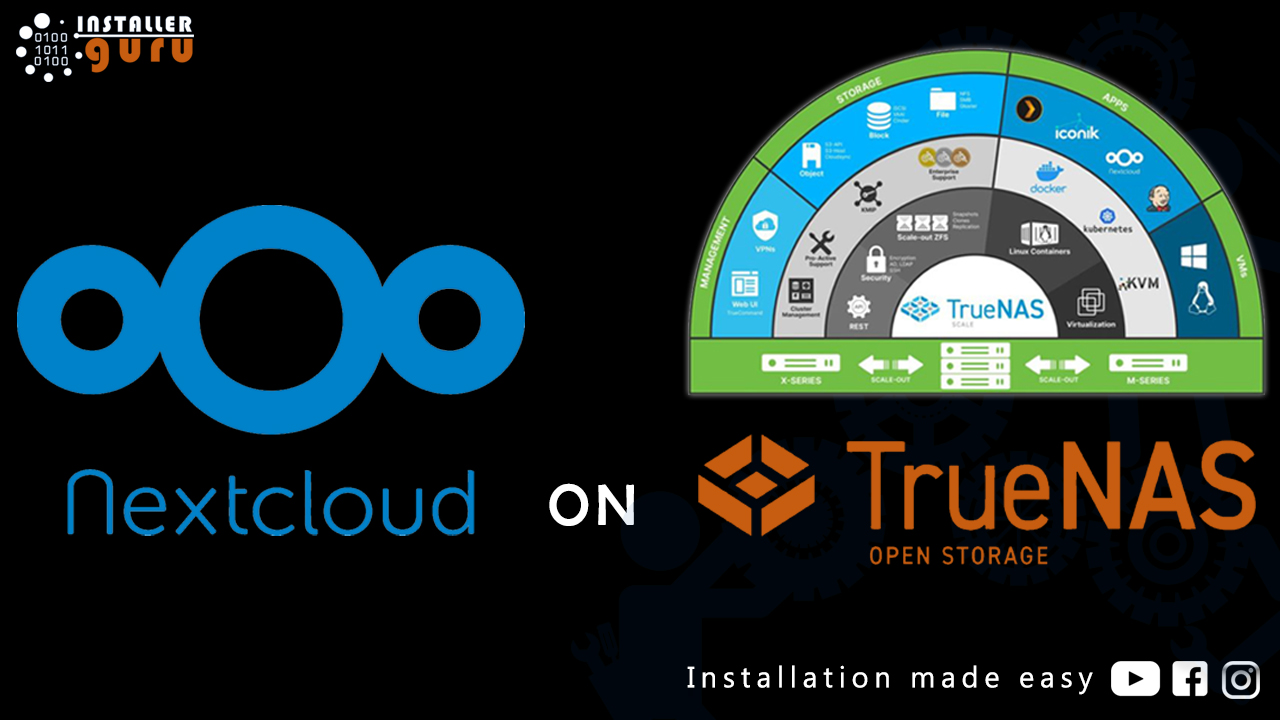
Set Up Your Private Cloud: Nextcloud Installation on TrueNAS (Full Tutorial)
How to Install Nextcloud on TrueNAS Scale | Step-by-Step Guide
Step 1: Create a Dataset for Nextcloud
Go to TrueNAS Dashboard.
Click on "Datasets" under the dataset section
Select your main pool (e.g., LTA2).
Click on “Add Dataset”
Step 2: Configure the Dataset Settings
In the Add Dataset screen:
Enter the dataset Name
Keep Compression Level as Inherit (LZ4) for efficient storage.
Step 3: Set Quota for the Dataset
Set Quota for this dataset to 1 Tb
Step 4: Finalize and Save Dataset
Set Share Type to app
Make sure Read-only is set to off
Review all settings
Click Save at the bottom to create the dataset
Step 5: Install Nextcloud
Go to the Apps section in TrueNAS.
Search for Nextcloud in the app catalog.
Click on Install
Step 6: Configure Nextcloud Settings
Set Admin User and Password for logging into Nextcloud.
Enter your Host IP address
Leave Data directory as default (/var/www/html/data) or customize as needed.
Adjust optional settings like upload size and memory if required.
Click Next to continue installation
Step 7: Configure Network & Certificate
Under Network Configuration: Set Web Port
Select an SSL Certificate
Leave proxy and Nginx settings default unless needed.
Step 8: Attach Dataset Storage
Under Storage Configuration:
For AppData Storage, set Type to: host path
Choose your Host Path: /mnt/LTA2/nextcloud
Confirm other settings or leave defaults.
This links your Nextcloud app to the correct dataset storage
Step 9: Launch the Installation
After verifying all configuration sections, click the “Install” button at the bottom.
Installation will begin – you’ll see the progress bar
Step 10: Verify Installation Status
Go to the Apps > Installed section in TrueNAS
You’ll see Nextcloud status as “Running”
You can now access Nextcloud using the configured web port and IP
Step 11: Log in to Nextcloud
Open your browser and enter the IP and port you configured
Enter your Admin Username and Password
Click Log in to access your personal Nextcloud dashboard
Step 12: Access Your Nextcloud Dashboard
Once logged in, you’ll land on the Nextcloud web interface where you can:
Upload & share files
Create folders
Use integrated apps (Photos, Calendar, Notes, etc.)
Collaborate in real time
Your private cloud storage is now fully operational!
Congratulations! You've successfully completed the setup and are now inside your own private cloud – powered by Nextcloud on TrueNAS
https://youtu.be/2aOzW10fty0
Assess your business potentials and find opportunities for bigger success
- 58 Howard Street #2 San Francisco, CA 941
- contact@aeroland.com
- (+68)1221 09876
- www.mitech.xperts.com
IT Services
- 04A-Narayan Vatika, Jamdoli
Jaipur-302031 - guruinstaller@gmail.com
- (+91)70034 89743
