

How to Install Invoice shelf a Free billing software
Today, we will install a free and open-source billing software in our Docker environment.
Step 1:
Go to Google and Open InvoiceShelf Website: - invoiceshelf.com
Go to invoiceshelf.com
Check the latest version release and changelog.
Step 2: Click on Documentation
Step 3: Go to the Installation Section
-
Click on Installation from the left menu.
-
Under Docker Installation, click Learn More.
Step 4: Click on InvoiceShelf/docker
Click on the InvoiceShelf/docker link to open the GitHub repository.
https://github.com/InvoiceShelf/InvoiceShelf
Step 5: Install Portainer Before Installing InvoiceShelf.
Before installing InvoiceShelf in Docker, you must first install Docker and Portainer.
If you don’t know how to install Portainer, watch this guide: https://www.youtube.com/watch?v=nUNdXruDyS0
Step 6: Go to the last step and click on PostgreSQL File
Scroll down in the repository.
Click on the docker-compose.pgsql.yml file (the one marked with a circle).
Step 7: Open and Copy the Docker Compose File
Click on Raw (top right corner) to open the clean view.
Right-click and Save As or Copy the full content.
Step 8: Add a New Stack in Portainer.
Go to the Stacks section in Portainer.
Click on the Add Stack button (top right corner).
Step 9: Create Stack and Paste Docker Compose Code
In Name, type invoiceshelf.
In Web editor, paste the copied docker-compose.pgsql.yml content. Here in this demo, I am using the default credentials, you must change them as per your setup.
Step 10: Deploy the Stack
Scroll down after pasting the code.
Click on the Deploy the stack button to start InvoiceShelf.
Step 11: Confirm the Stack is Created
After deployment, you will see the invoiceshelf stack listed under Stacks.
This means your stack is successfully created.
Step 12: Verify Container Status
-
Check that both containers — invoiceshelf and invoiceshelf_db — are showing as healthy and running.
Step 13: Open InvoiceShelf Application
Click on the link showing 90:80 under Published Ports.
It will open the InvoiceShelf app in a new browser tab.
Step 14: Start InvoiceShelf Installation.
The InvoiceShelf setup wizard will open.
Select your preferred Language and click Continue.
Step 15: Verify System Requirements
Make sure all PHP extensions and version checks are green
Click on Continue to proceed.
Step 16: Check Folder Permissions
Confirm that all folder permissions (storage/framework, storage/logs, bootstrap/cache) are correctly set to 775.
Then click Continue.
Step 17: Configure Site URL and Database
Enter your App URL, Database Connection (like MySQL/PostgreSQL), Port, Username, Password, and Database Name.
Click Save & Continue to move ahead.
Step 18: Domain Verification
Enter your App Domain (without http:// or https://), like 192.168.1.100:90.
Click on Verify Now to complete domain validation.
Step 19: Mail Configuration
Choose your Mail Driver (default mail).
Enter From Mail Name (e.g., Installer Guru).
Enter From Mail Address (e.g., guruinstaller@gmail.com).
Click Save to continue.
Step 20: Create Administrator Account
Upload a Profile Picture (optional).
Enter your Name (e.g., Installer Guru).
Enter your Email (e.g., guruinstaller@gmail.com).
Set and confirm your Password.
Click Save & Continue to proceed.
Step 21: Fill in Company Information
Upload your Company Logo.
Enter Company Name (e.g., Installer Guru).
Select Country (India), State (Rajasthan), and City (Jaipur).
Enter your Address, Zip Code, and Phone Number.
(Optional) Fill Tax Identification Number and VAT Number if applicable
Click Save & Continue.
Step 22: Set Company Preferences
Select Currency (e.g., INR - Indian Rupee).
Choose your preferred Date Format.
Set the Default Language (e.g., English).
Select your Time Zone.
Choose your Financial Year (e.g., April – March).
Click Save & Continue.
Step 23: Confirm Company Preferences
A popup appears asking: "Do you wish to continue?"
Message: "The company's currency cannot be changed later."
Click on the OK button to confirm and proceed.
Step 24: Installation Completed Successfully
After saving all settings, you are redirected to the InvoiceShelf Dashboard.
A green notification appears: "Login Successful".
Now your InvoiceShelf system is ready to use!
Step 25: Add New Customer
Go to Customers tab from the left sidebar.
Click on the + Add New Customer button to create your first customer entry.
Step 26: Add New Item
Click on Items from the left sidebar.
Then click on the + Add New Item button to add your product or service.
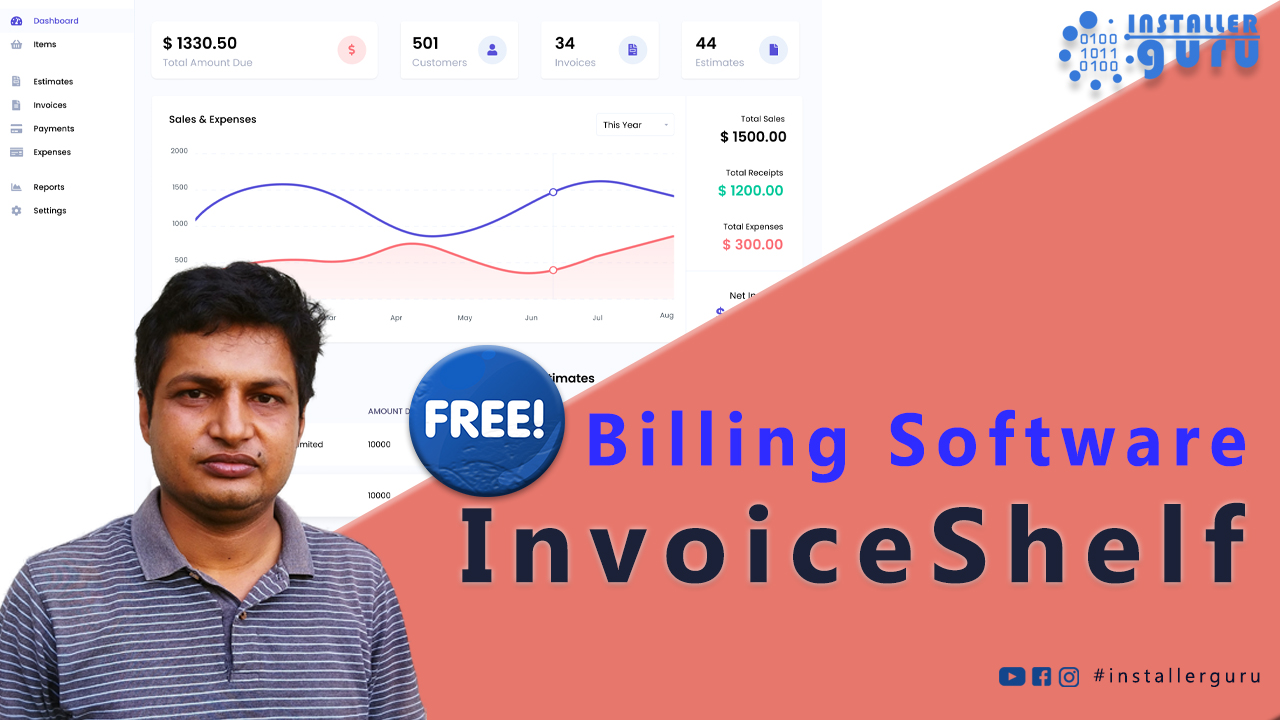
"Congratulations! Your InvoiceShelf is now ready.
You can now enjoy hassle-free invoicing with #InstallerGuru – Installation made easy."
https://www.youtube.com/watch?v=pzUoFwgXz0w